click on any pic to see a larger one.
trons 4, 5, 6 and 7 pointing up and away
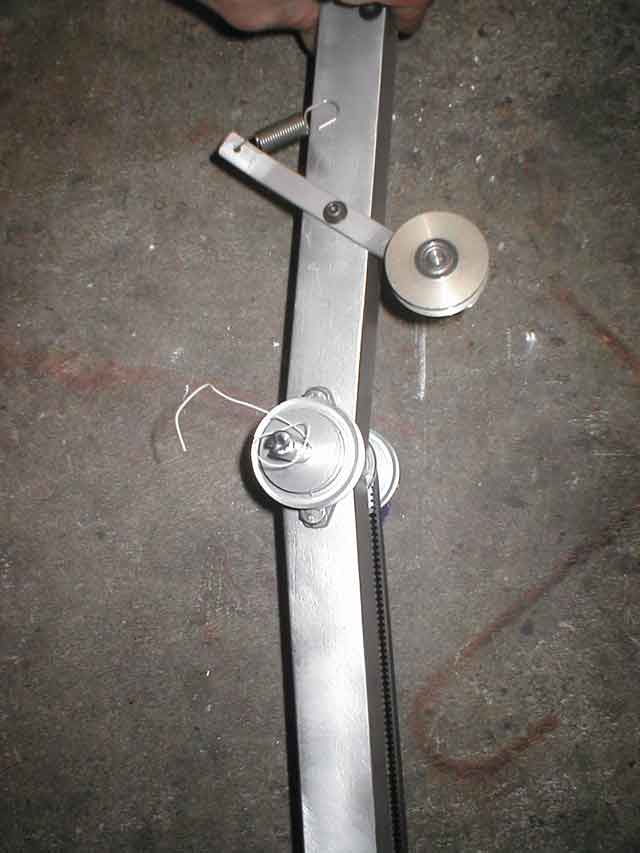
ok, was supposed to leave today, and as i did some centering test, the main shaft snapped literally in half.

so i delayed departure, drank some lovinlight, and got to work. didnt think the machine shop mess would do well on the playa. So now that i know what it looks like, it only took two days to rebuild it completely from new stock.
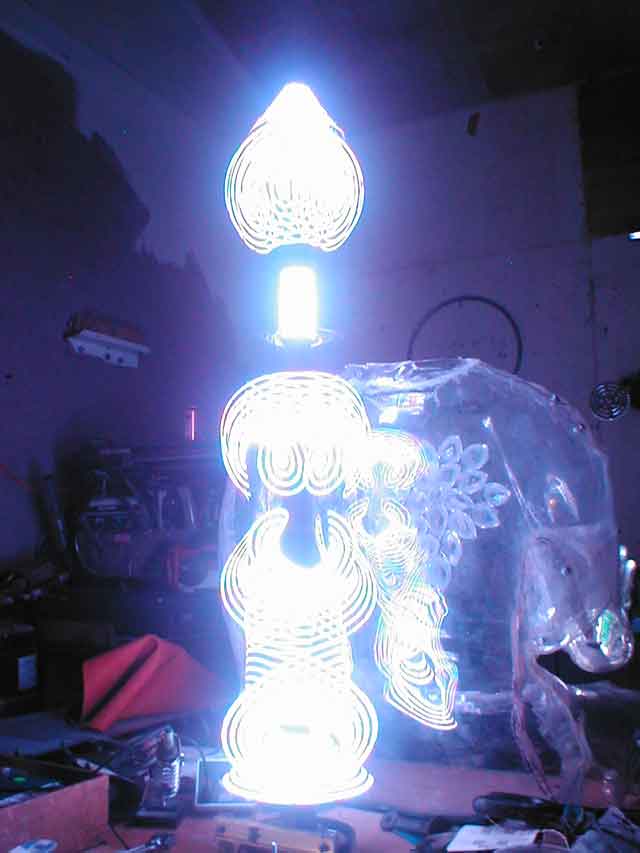
hard to take a picture of something clear ....
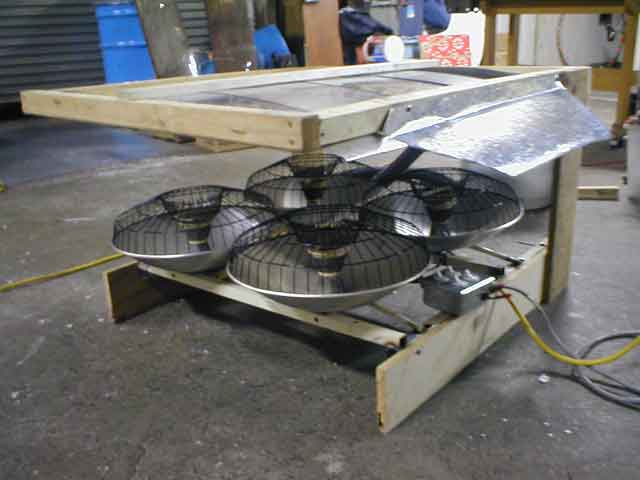
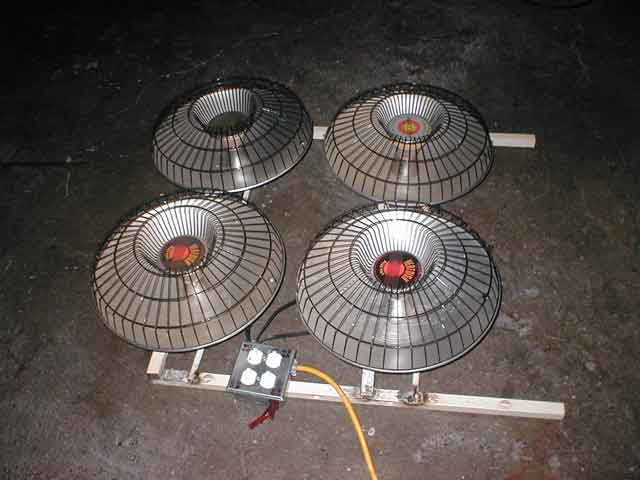
37 amps on two 120 legs, makes nice plastic pizza
so its been a mercury coupla weeks,
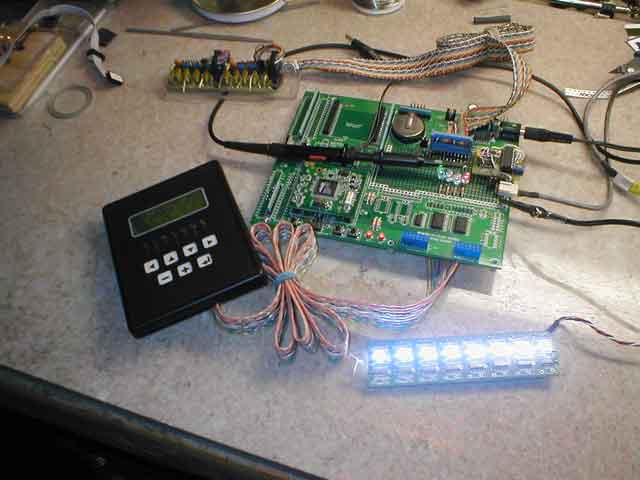
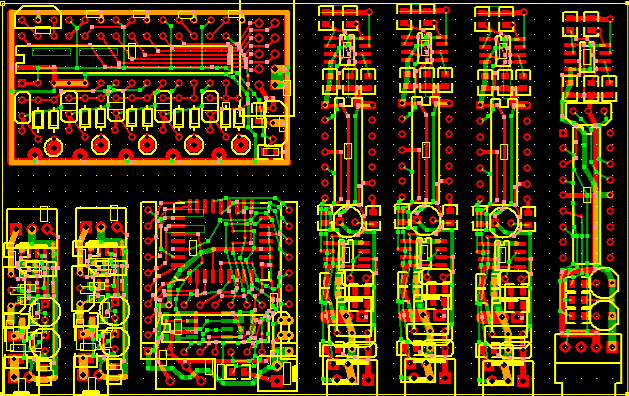
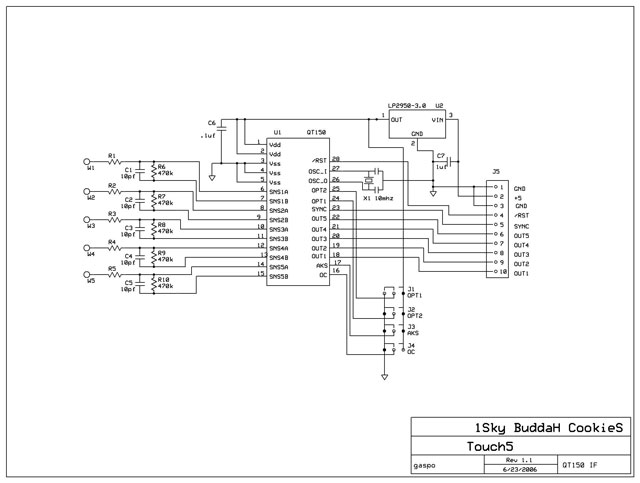
heres the board design that includes the touch chips for the hand, the FIFO driver and L3K interface, and a few other things......
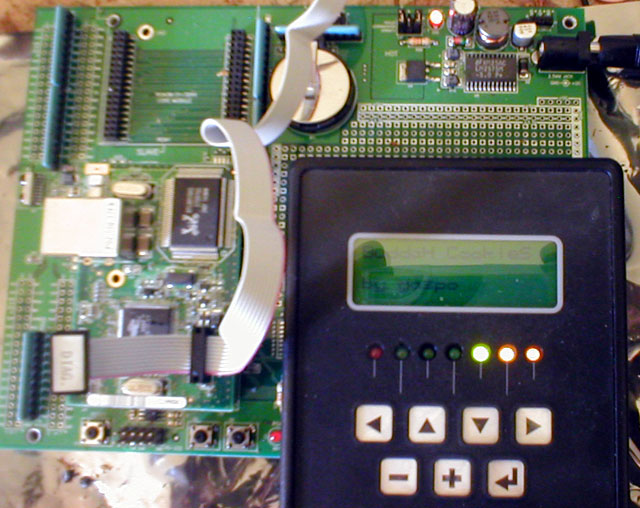
the rabbit arrived, and after a few auspicious tests of the ethernet and stuff, Tim lent me a very nice graphic lcd keypad that is going to make the testing and puzle building a LOT easier.
So look closely, i suppose you could say ...
ITS ALIVE!!!!
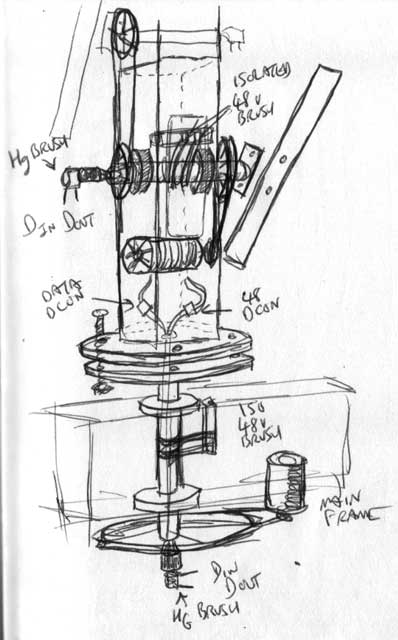
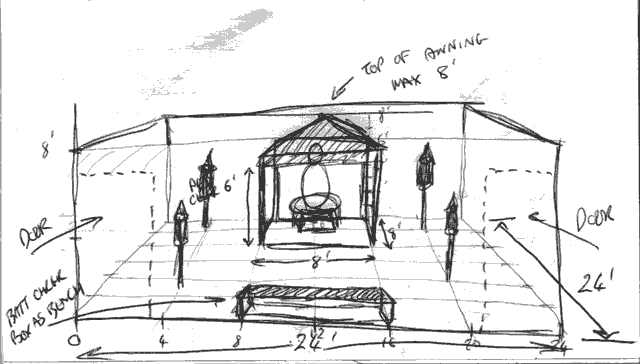
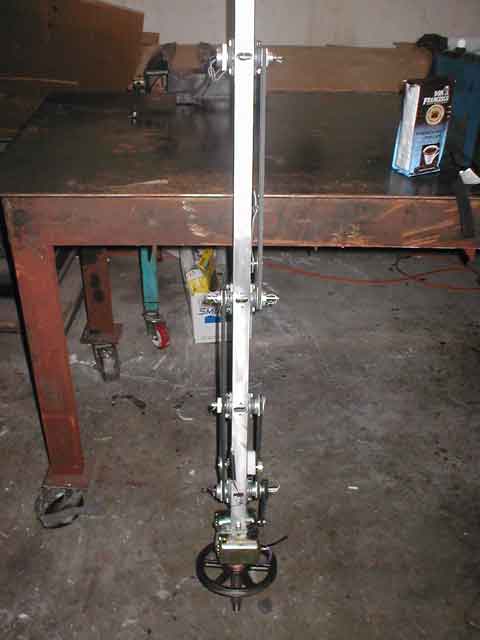
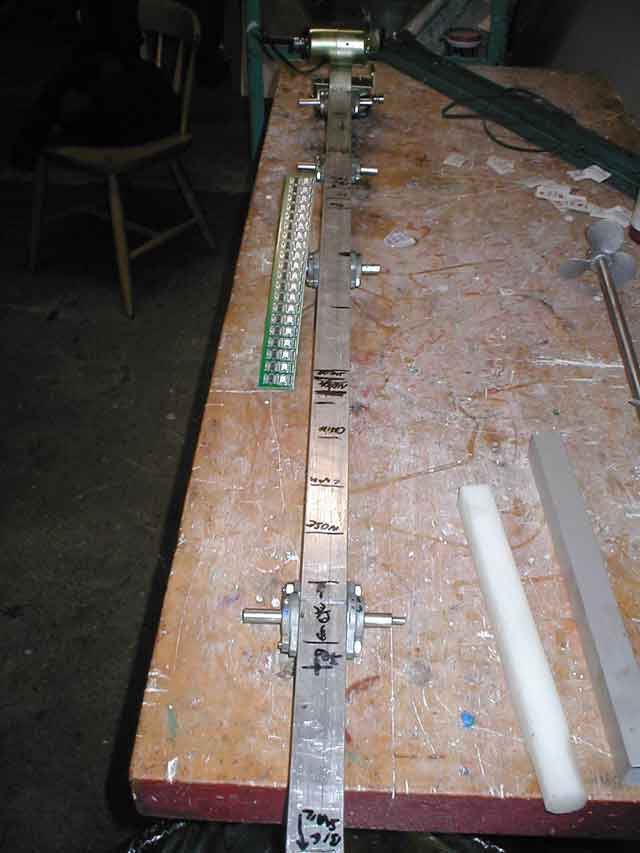
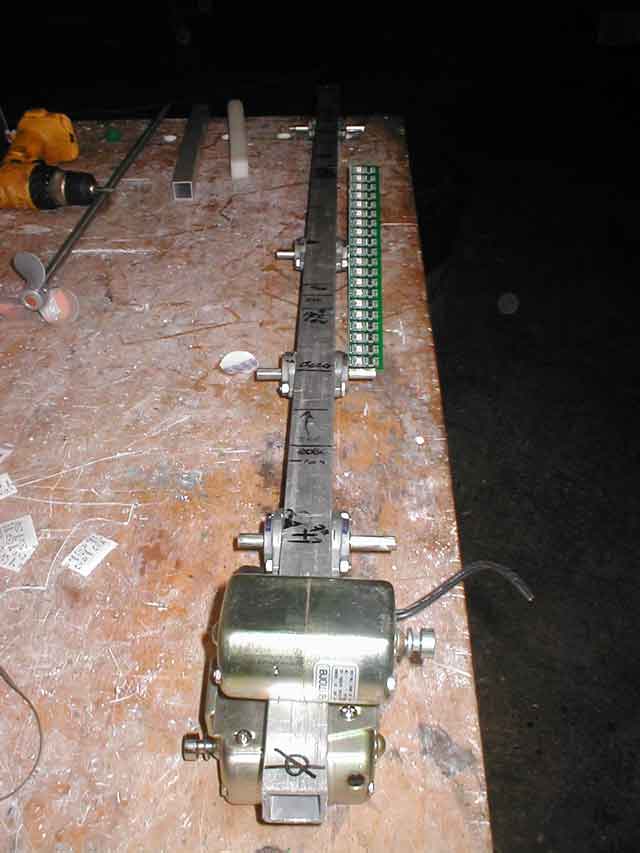
thinking and working at the same time, the construction must allow BC to fit through a standard doorway. therefore, the entire assembly will be in sections. heres the armature flange and drive assembly sketch.
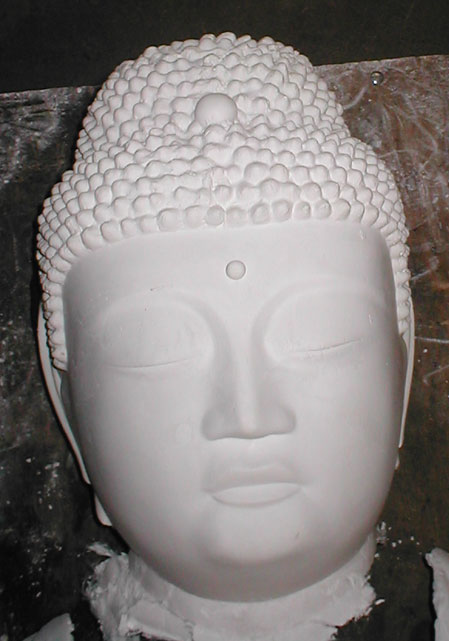
i finally got some head.
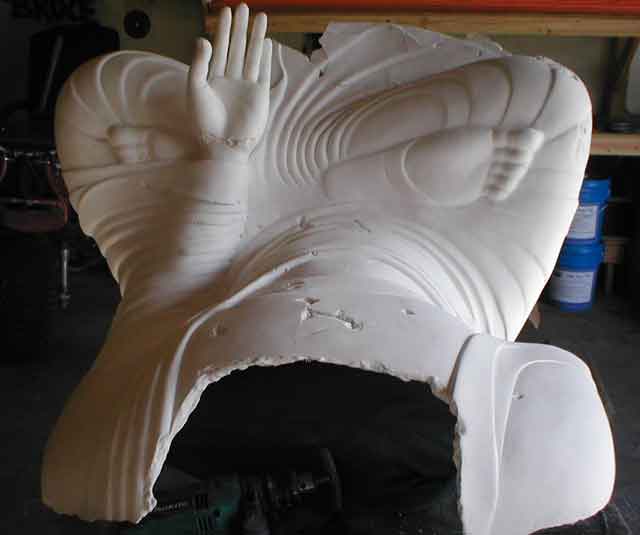
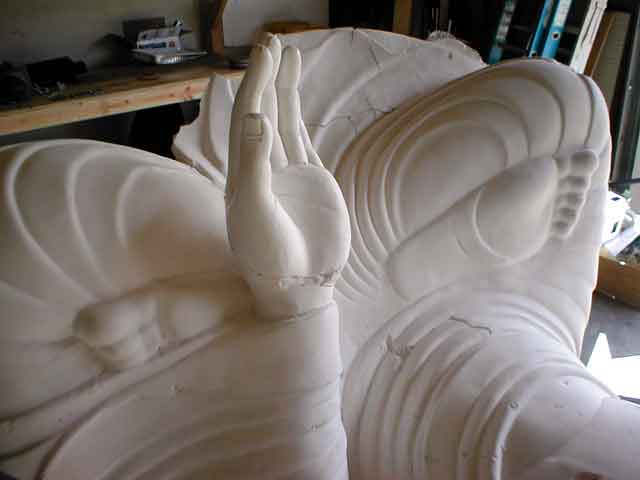
peaceful, isn't he?
i feel very Dr. Frankensteinish, with the head in pretty accurate spacing to the body, yet not attached.
(now all i need is a lightning storm :-)
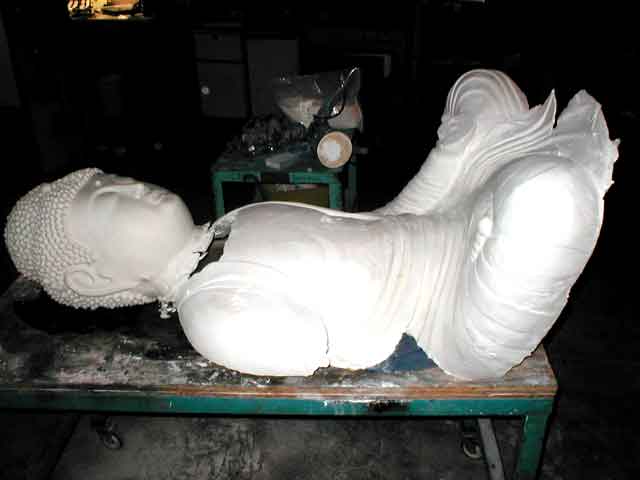
another view of the alignment.
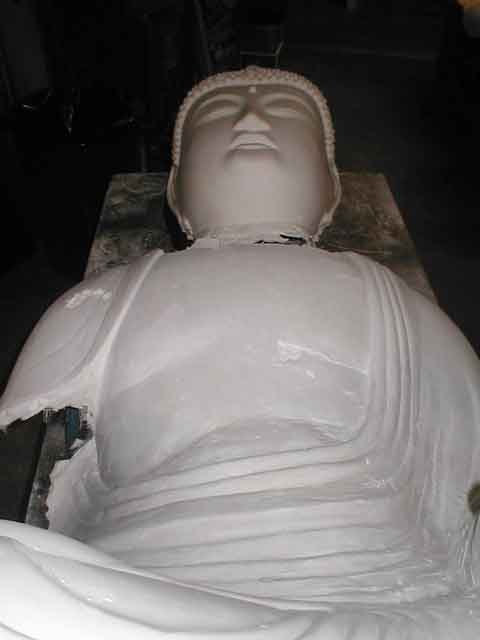
this is getting fun...
Mercury: closest planet to our sun, rules things like science and math and electronics.
heres a nifty toy, a mercury slip ring assembly. since there will be 6 rotating points of data transfer, i decided to splurge on these. they werent that expensive, but since all the blades will be data-chained, and near playa dust...
Hg, from the Latinized Greek hydrargyrum, for watery [or liquid] silver, atomic number 80.
i like that, especially since the double rotating axis will be similar
to a gryoscope... and it looks like about 80 picxels inside him,
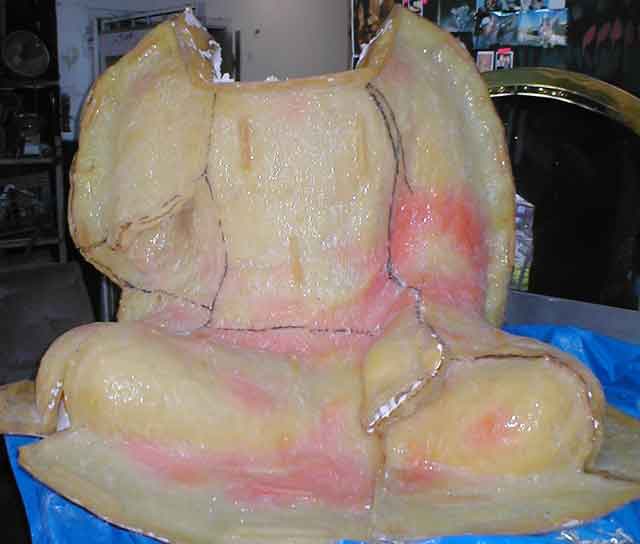
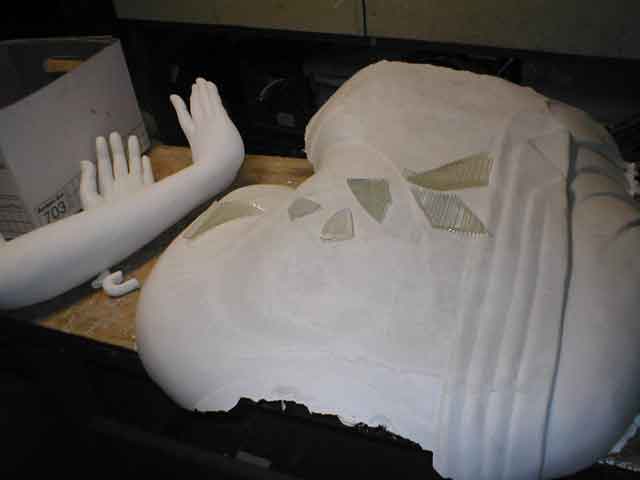
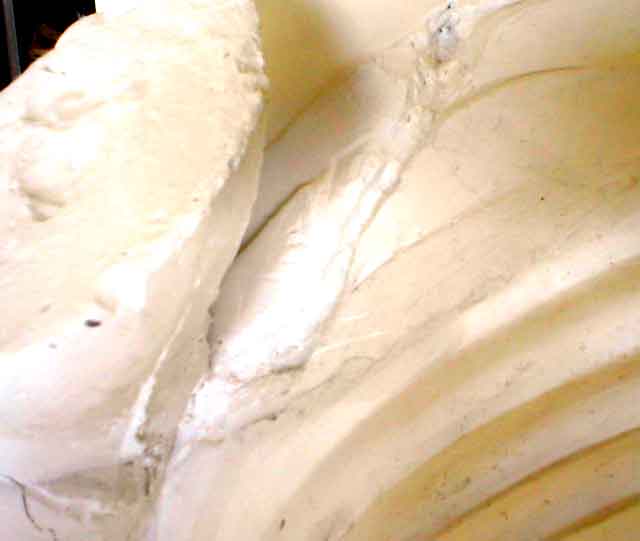
at least my fiber re-inforcement held, so i excavated the cracks in prep for filling and carving. i'm actually begining to enjoy the carving and sculpting of the hydrocal....
ok, its happening, no turning back now, checks cashed, parts ordered, off and running...
click on any of the pics to see a larger one.
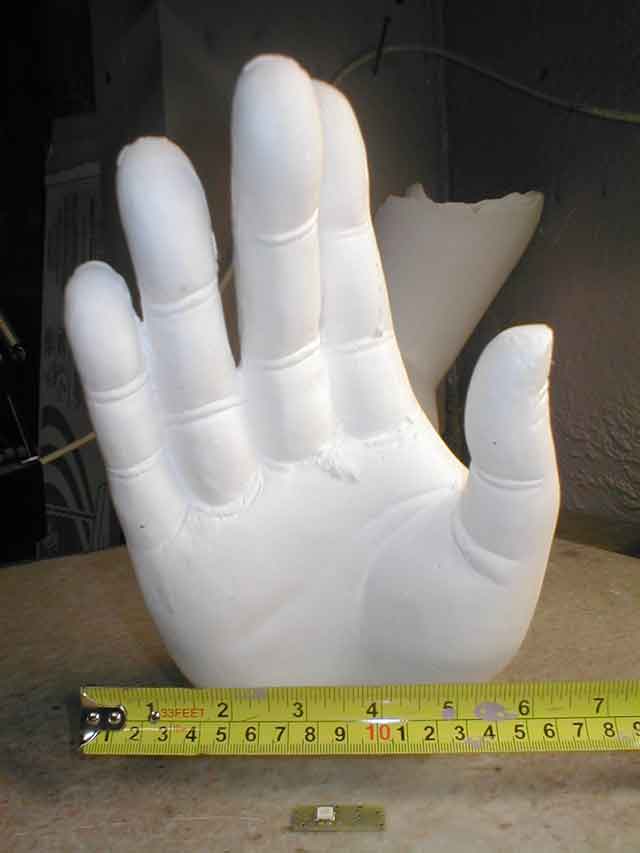
so, heres the "teaching" arm and hand. Theres a prototype of the new picxel modules below the tape measure for scale.
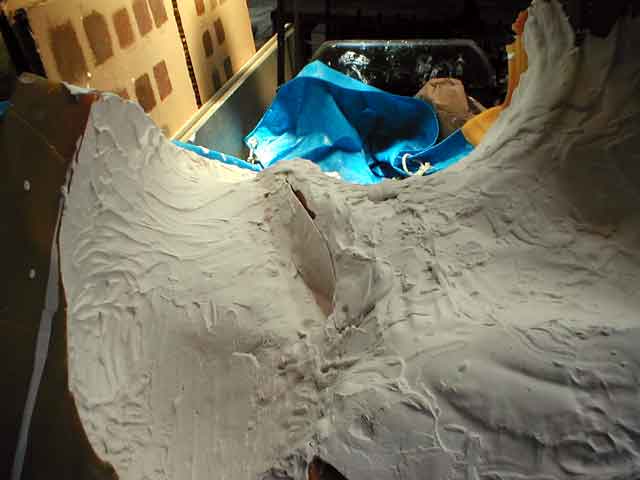
and heres the inside of the almost completed front half. theres a good 100lbs of plaster in that (see "massage" in the donations list)